This past week I listen a few times "Spot Instances" while my workmates talk about our CI environment. When I arrive my home, I just start to read about AWS Spot Instances, and well... for CI they're pretty awesome. The thing is that AWS offer the instances that are not in use with a lower price, the instances are the same that the ones you create on-demand except for one thing, AWS can claim and stop them with only two minutes in advance. This last part doesn't matter in a big way to e2e tests or build tasks if you can try them in another moment.
So, I start to put together things that learn lately and finally the idea of run a GitLab + Docker registry + CI-runner comes up. I want to run this all on a small 15€ VPS server that I rent for my personal projects. That projects are small, but some of them are in "production" and I don't want to hit performance only because I made some changes and the CI starts to do tests, package jars, build docker images... Here is where the spot instances will "save my life", the ci-runner will only manage the spot-instance request and the build status. The "heavy" load will be done in AWS.
I spent a long afternoon but finally I got everything working!! until a new problem pops up... cache between instances... If the CI runs a build on an instance that finally shutdowns due to inactivity, next time that the CI will run, should download all the node/java dependencies and that's a little bit slow. So what can I do? configure S3 as cache storage!
I'll split this "how-to" into three posts, this is the first and we will get at the end of it a running gitlab-ce with a docker-registry and a gitlab-runner, all over docker!
In the next post I'll show how to integrate it with AWS Spot instances and S3 storage.
In the last post we will see how to deploy docker images with ansible (in my way, maybe not the best).
Dependencies
First of all, you should have installed this tools on your VPS or computer:
- docker-engine: just docker :P
- docker-compose: will help us to manage docker instances and have them all connected.
- docker-machine: will allow gitlab-ci-runner to connect to AWS instance and register it as a docker-machine.
Here are my current versions:
daniel@vps:/home/gitlab$ docker -v
Docker version 17.12.1-ce, build 7390fc6
daniel@vps:/home/gitlab$ docker-compose -v
docker-compose version 1.8.0, build unknown
daniel@vps:/home/gitlab$ docker-machine -v
docker-machine version 0.14.0, build 89b8332
Step 1. Introduction to the docker-compose file
I want to really thanks to this guy github.com/sameersbn for create this pretty nice docker images and a github.com/sameersbn/docker-gitlab/blob/master/docker-compose.yml that do all the work... It's quite easy to work with well-documented projects like this.
The docker-compose.yml file and code that I will show below are published on github.com/danybmx/my-cheap-devops. You can go there and do a FF to this post!
Gitlab
Well as I said, that guy create a docker-compose.yml that do everything so I just copied it and clean it up to configure only with my needs.
If you want to remove the docker registry, just remove the registry service and the REGISTRY_* environment values from gitlab service.
You should replace {{YOUR_IP}} on this docker-compose.yml with your host machine IP or public IP as you prefer.
This docker-compose basically start 5 instances for run gitlab-ce with ci-runners and docker-registry.
Step 2. Generate certificates
I've created a bash script for generating needed certificates, it can be found at github.com/danybmx/my-cheap-devops/create-registry-certificates.sh.
You can fill the data you want on the script but don't worry about it, this only will be used for internal communication between registry and gitlab.
$ sh create-registry-certificates.sh
Generating a 2048 bit RSA private key
..................+++
..................................................+++
writing new private key to 'registry.key'
-----
Signature ok
subject=/C=ES/ST=PO/L=Vigo/O=Registry/OU=Registry/CN=registry
Getting Private key
Ensure that the certs folder is in the same folder as the docker-compose.yml file and that's all!
Step 3. Run instances!
Now, you just need to run the instances and wait until gitlab are available! How? just run:
$ docker-compose up -d
$ docker-compose logs -f
The -f option on docker-compose gives you the option to chose the config file instead use the default.
We run the up with -d for start in detached mode and then show the logs with -f follow options. This allows you to Ctrl-c without stop the instances.
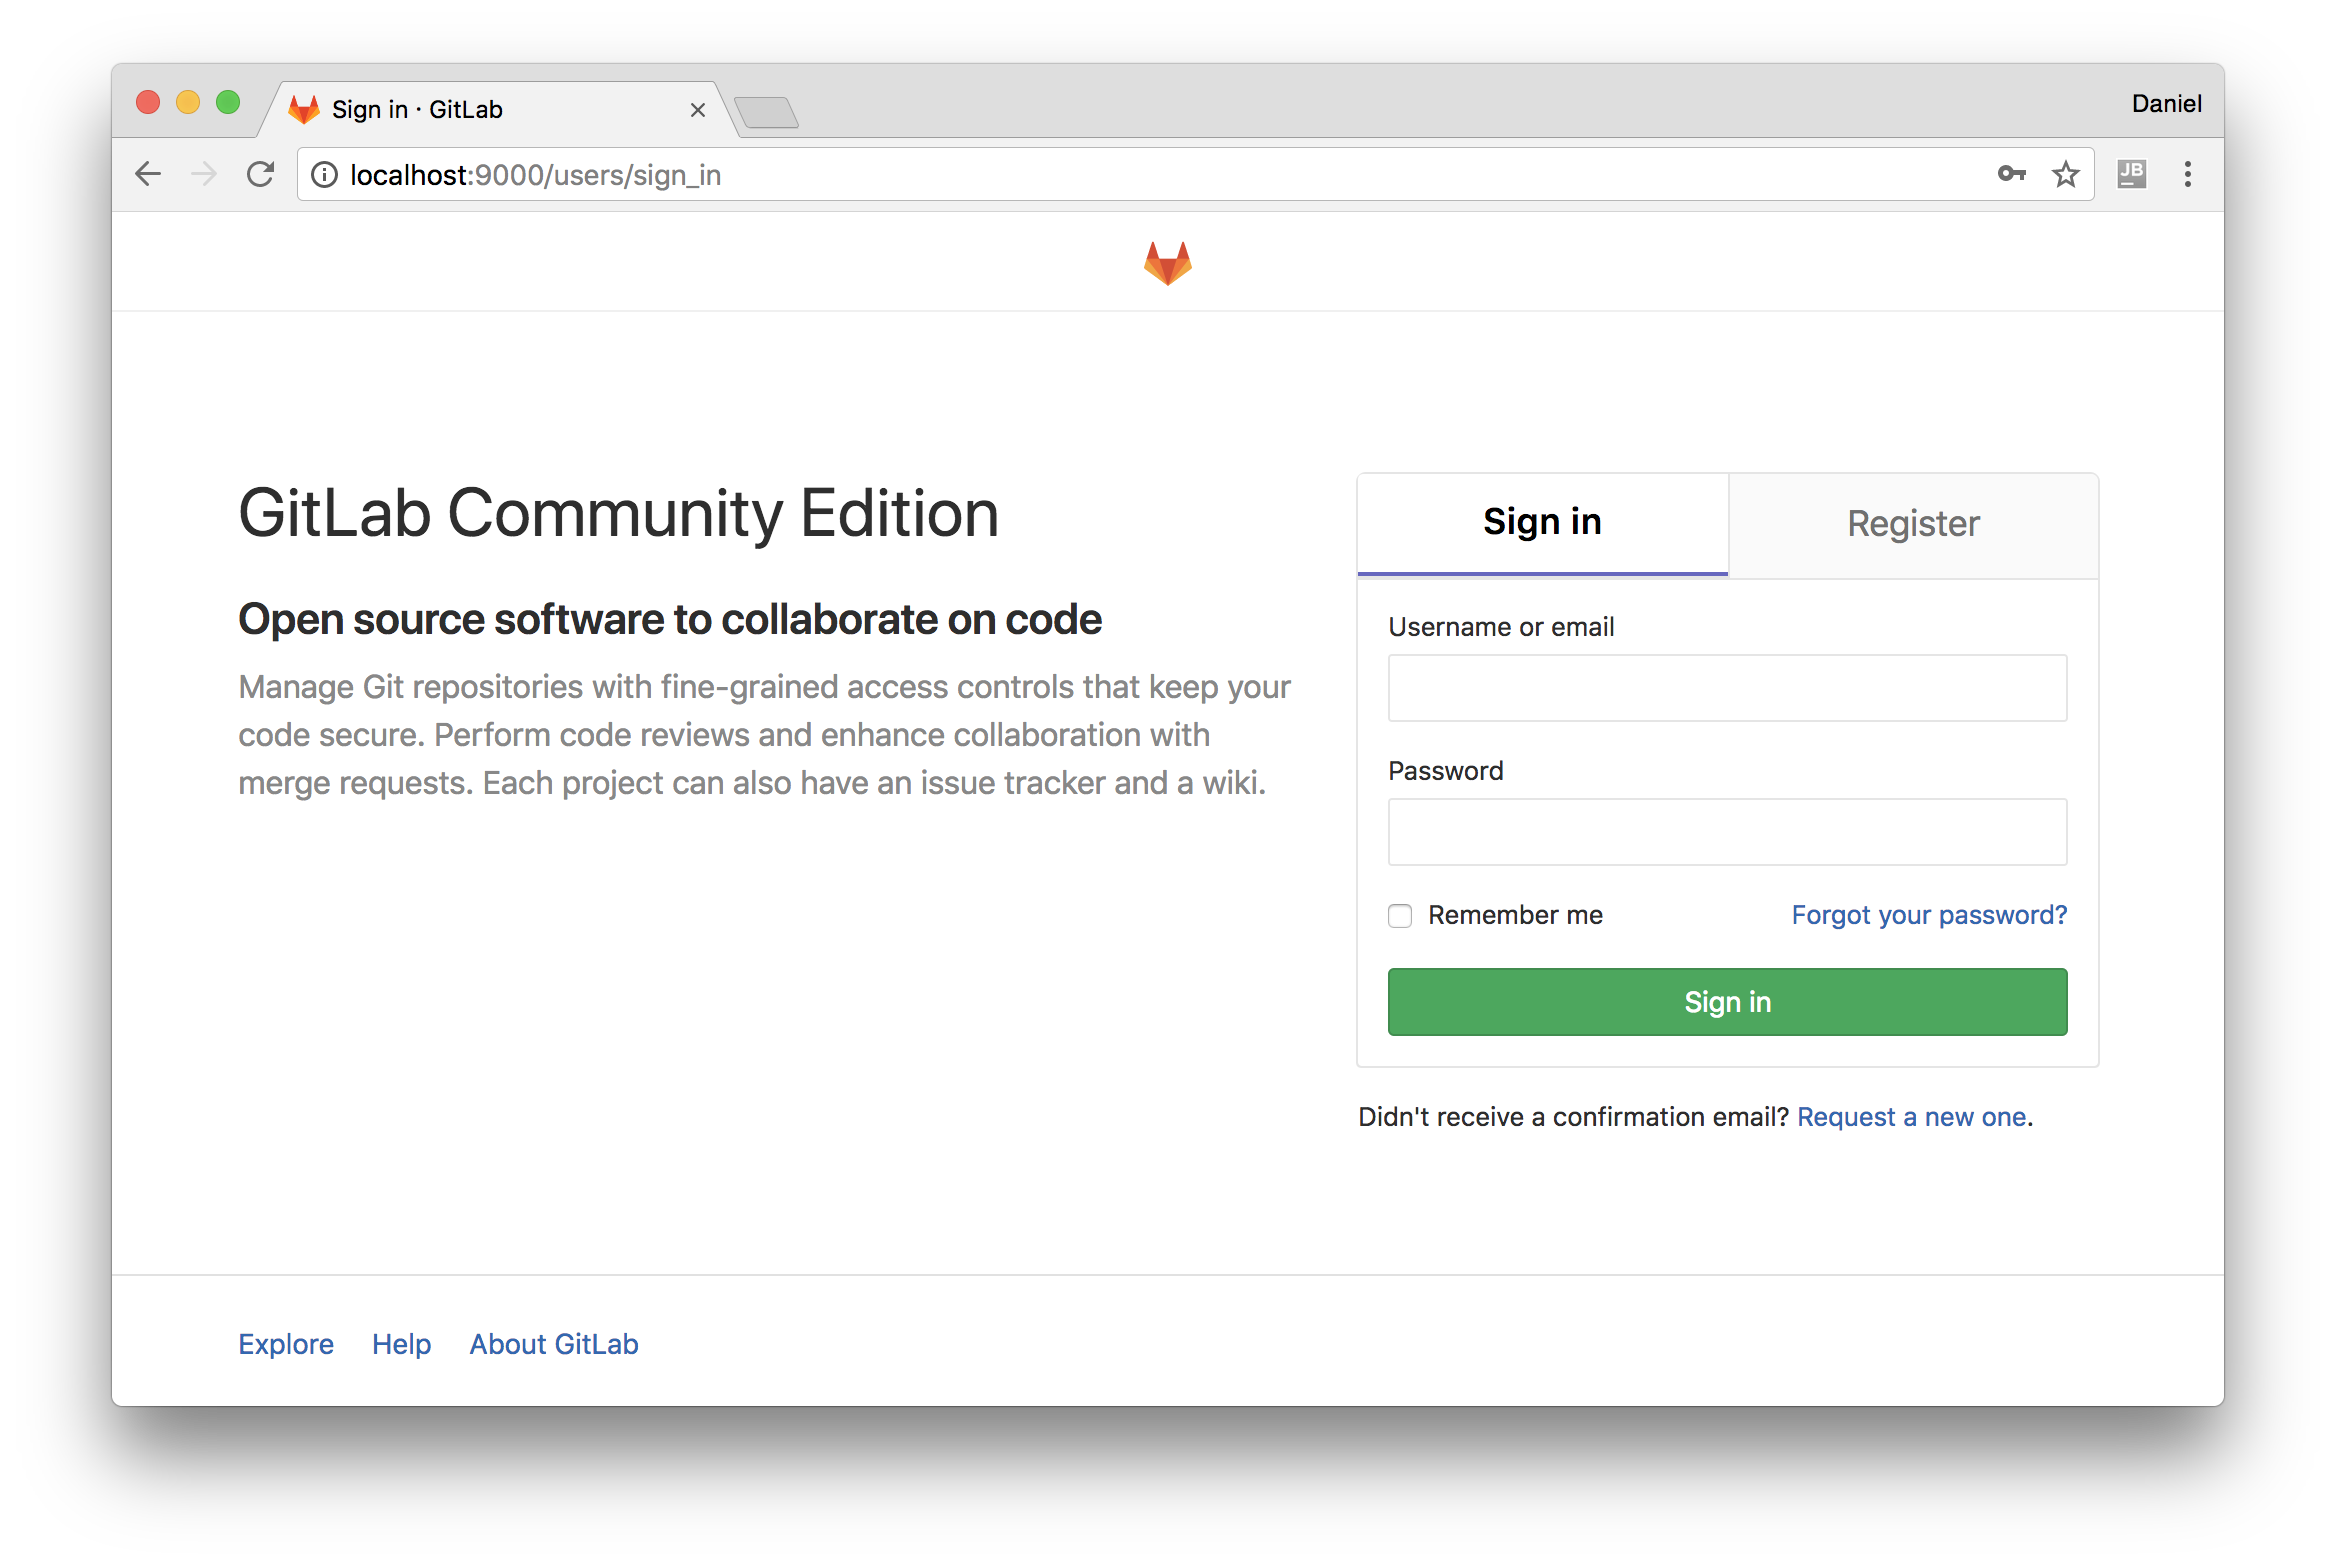
Now, access to localhost:9000/!. It will show you a 502 at the beggining, you should wait and refresh until it works. This is just because gitlab is still starting.
After a while, you should see your own gitlab-ce login page!, the login info is the one that you have set on the docker-compose file GITLAB_ROOT_EMAIL and GITLAB_ROOT_PASSWORD. Or just register for an account without admin permissions.
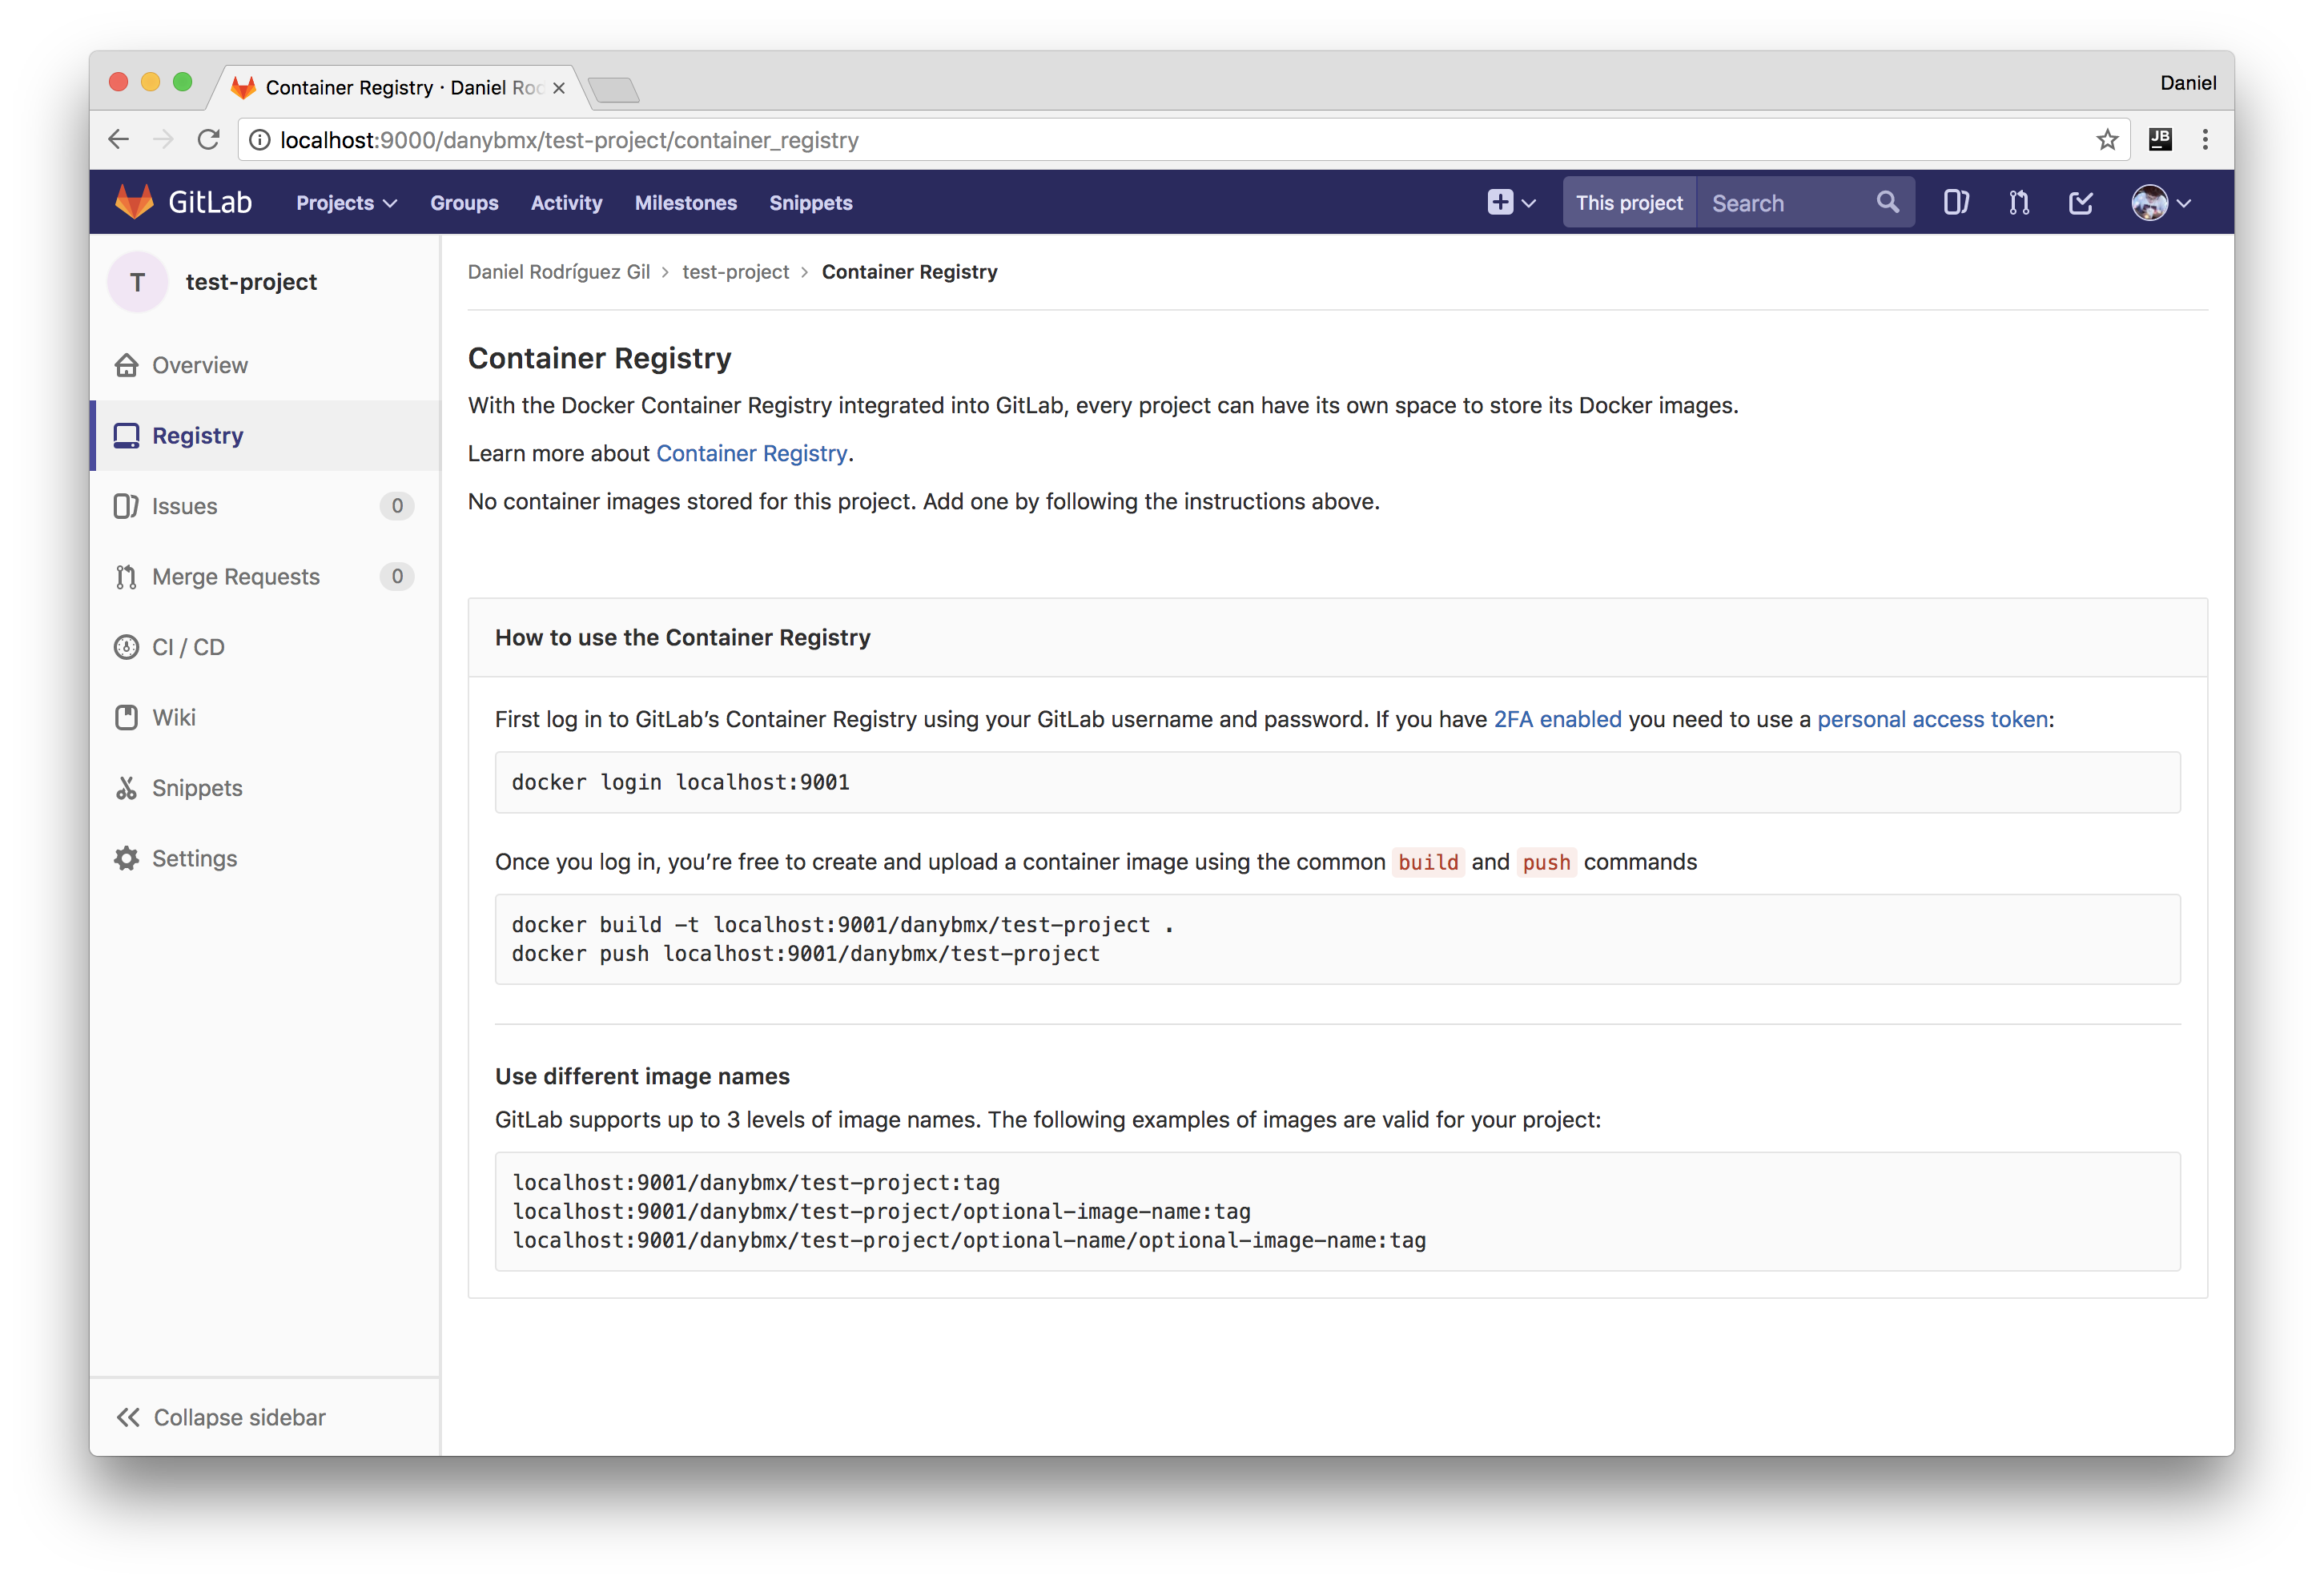
Create a test project and that's all, you have, gitlab running and also the registry if you have chosen that option!
Step 4. Register a gitlab-ci-runner
Well, we launched all the stack but we didn't register any ci-runner on gitlab, go ahead.
First of all, login on your gitlab as admin and go to /admin/runners localhost:9000/admin/runners.
Once here, you will see a token, copy it.
Go to the terminal, and navigate to the path where the docker-compose files are. Once there, run the following command:
docker-compose exec ci_runner gitlab-runner register
This will execute the gitlab-runner register command inside the runner instance and this will prompt you for some data in order to register the runner.
- Please enter the gitlab-ci coordinator URL (e.g. https://gitlab.com/)
- Here you should write the internal http url to reach gitlab, in our case should be
http://gitlab since gitlab is the name of the service.
- Please enter the gitlab-ci token for this runner:
- Just paste the token you copied on the website.
- Please enter the gitlab-ci description for this runner:
- A description for identify the runner from gitlab, I keep it with the default.
- Please enter the gitlab-ci tags for this runner (comma separated):
- Whether to lock the Runner to current project [true/false]:
- Here I put false, if it's true, the runner will run only for a specific project.
- Please enter the executor: docker, shell, ssh, docker-ssh+machine, docker-ssh, parallels, virtualbox, docker+machine, kubernetes:
- Please enter the default Docker image (e.g. ruby:2.1):
That's all, refresh the website and you'll have a new ci-runner waiting!
Step 5. Create a test pipeline
Just clone the test-project that you've created:
git clone http://localhost:9000/{{user}}/test-project.git
cd test-project
Create on it a .gitlab-ci.yml file with following content:
image: alpine:latest

stages:
  - build
  - test
  - deploy

build:
  stage: build
  script:
  - echo "I'm building"

test:
  stage: test
  script:
  - echo "I'm testing"

deploy:
  stage: deploy
  script:
  - echo "I'm deploying"
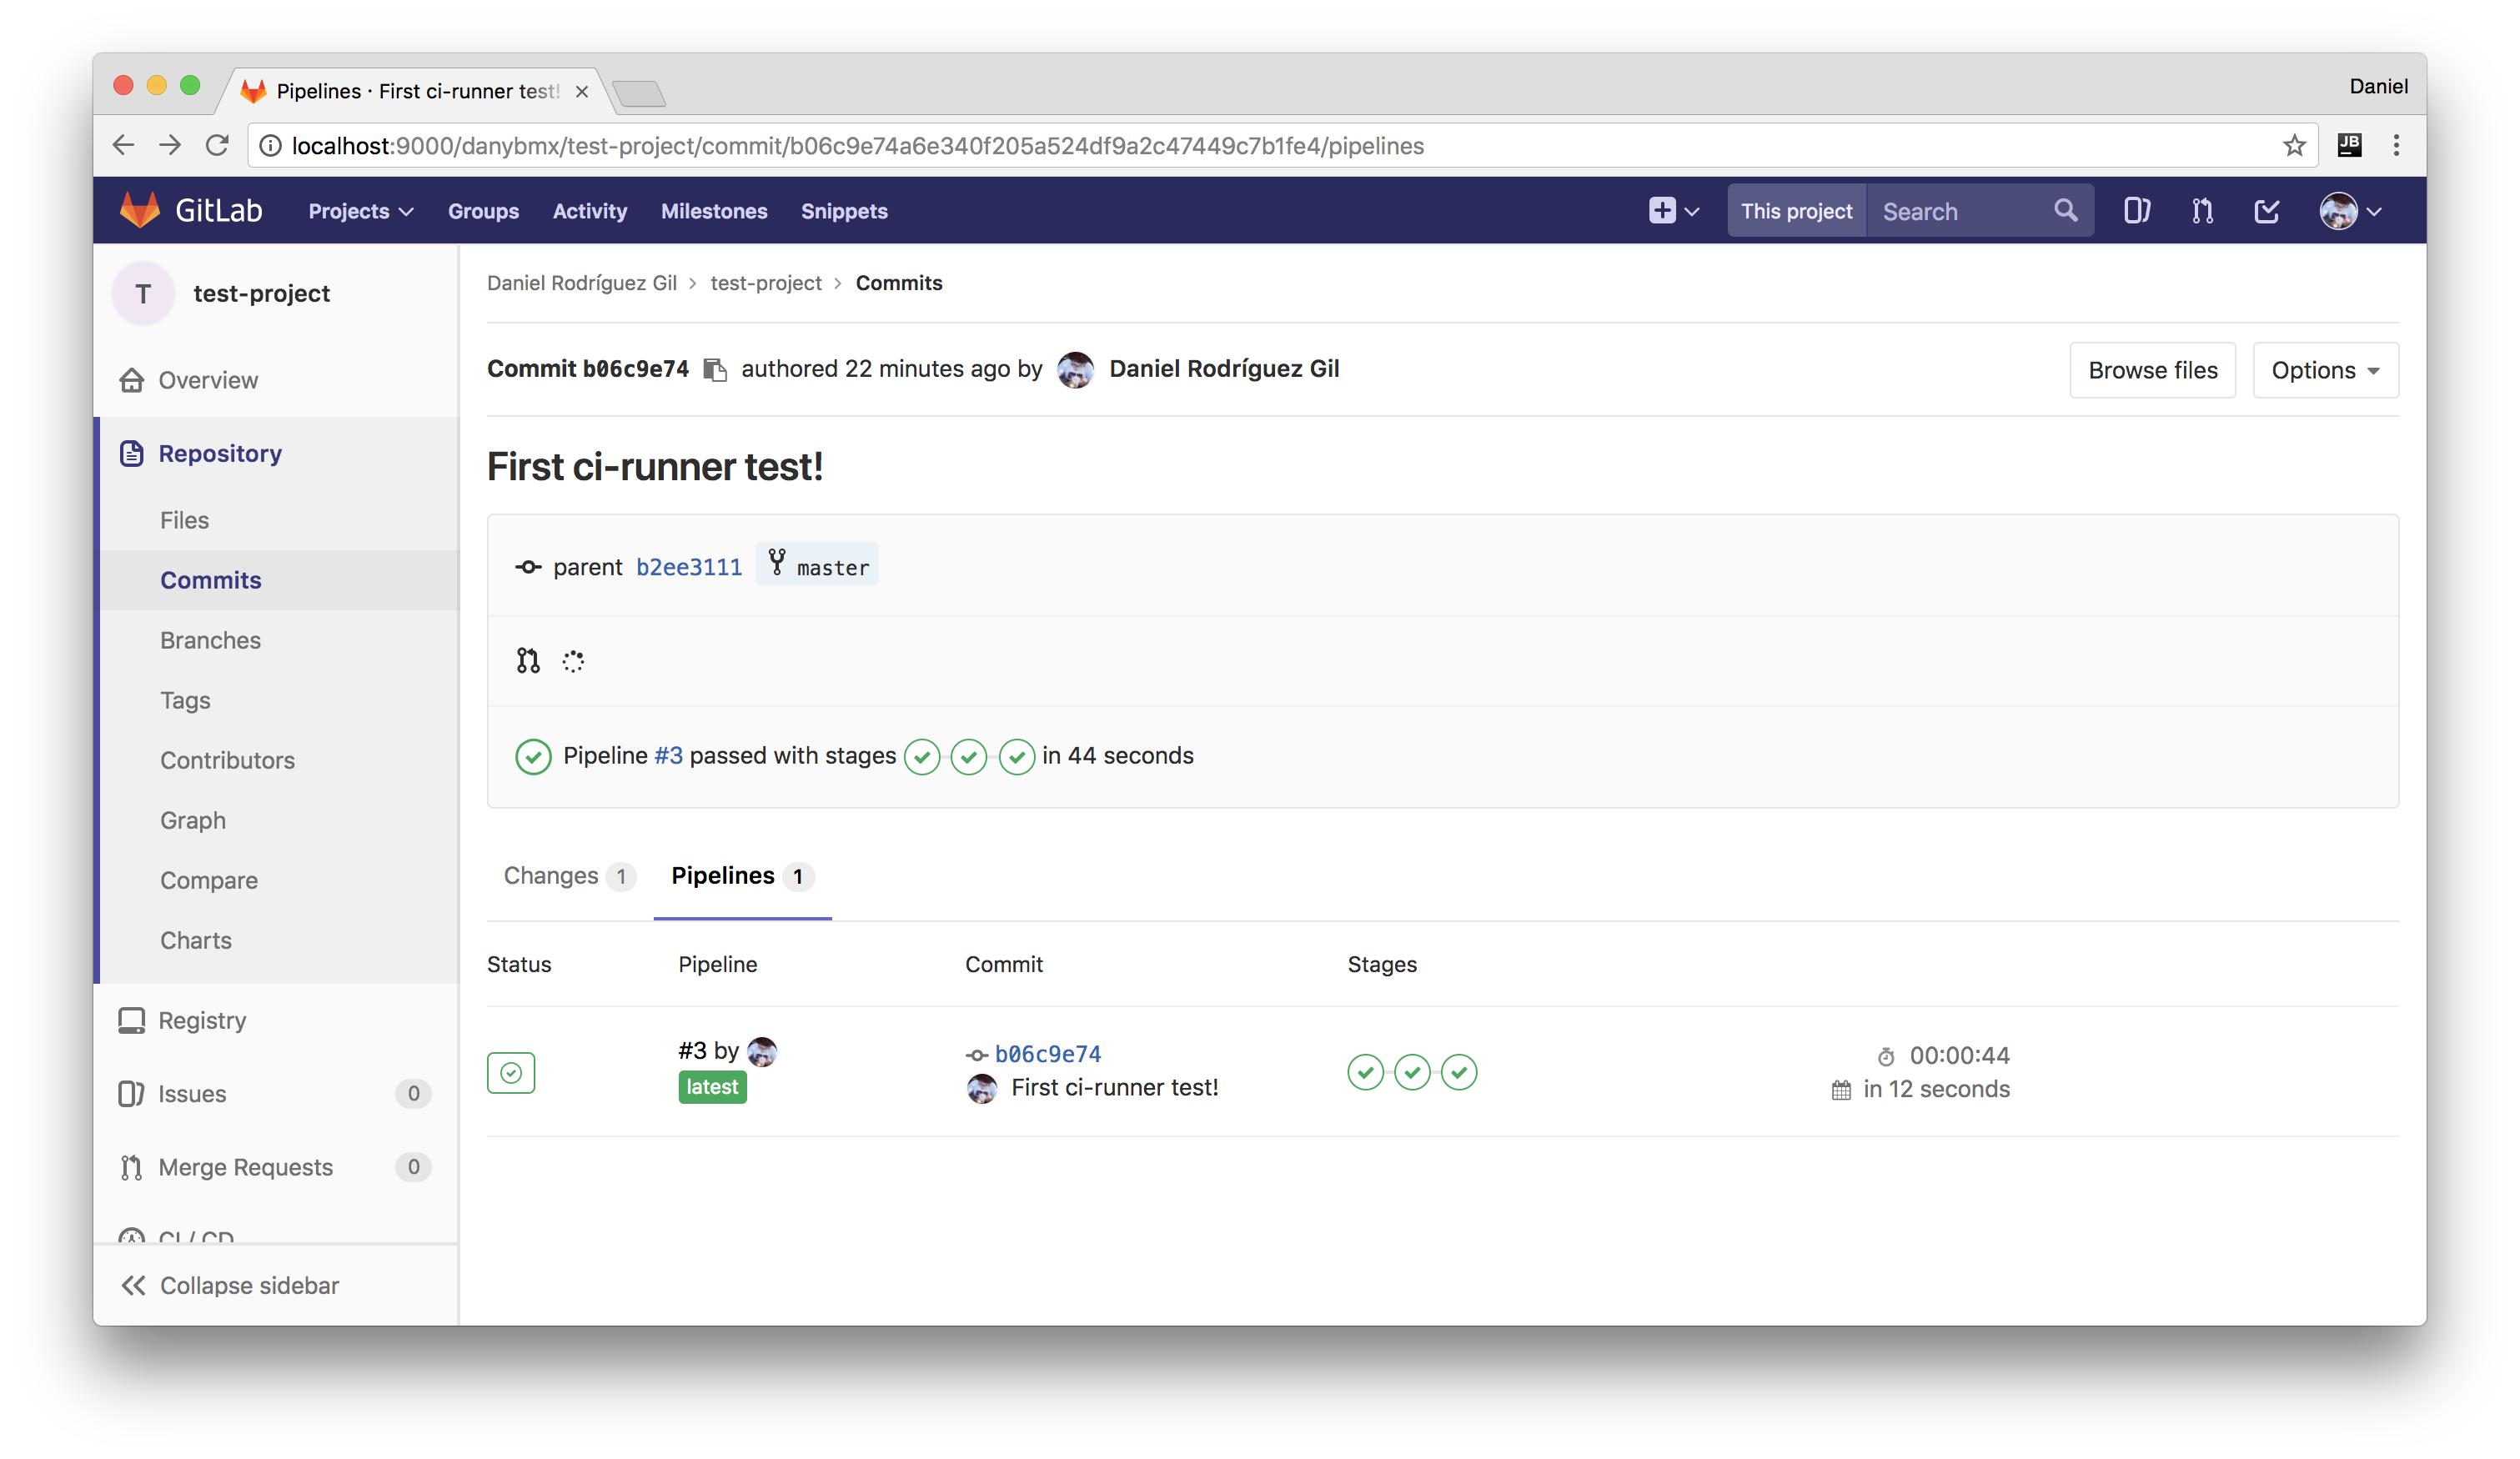
Commit and push the change:
git add .gitlab-ci.yml
git commit -m "First ci-runner test!"
git push -u origin master
Go to the website and see how pipelines pass (or not... and you should debug a little bit hehe)
Now you should play with .gitlab-ci.yml options, and adapt it to your project. Maybe when finish this posts series I'll try to show what I do on my personal builds.
On next post we will see how to use AWS Spot instances as machines for launch our tests/builds and how to configure S3 as cache. Go to AWS and create your account!